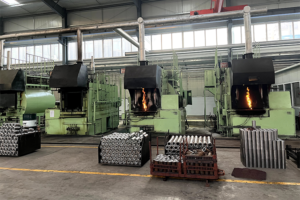
Pre-Bore HDD Drill Rod Inspection Checklist: What to Check Before Every Job
A pre-bore inspection is one of the simplest ways to keep a horizontal directional drilling string reliable. It helps the crew catch damaged threads, worn shoulders, bent rod bodies, and handling damage before those defects are loaded underground. The goal is not to make every used rod look new. It is to decide, consistently and before the bore begins, which rods are ready to run, which need closer evaluation, and which should be removed from service.
Use this checklist as a practical starting point, then apply the drill-rig and HDD drill pipe manufacturer’s inspection criteria. Dimensional limits, thread forms, approved repair methods, and rejection rules can vary by product.
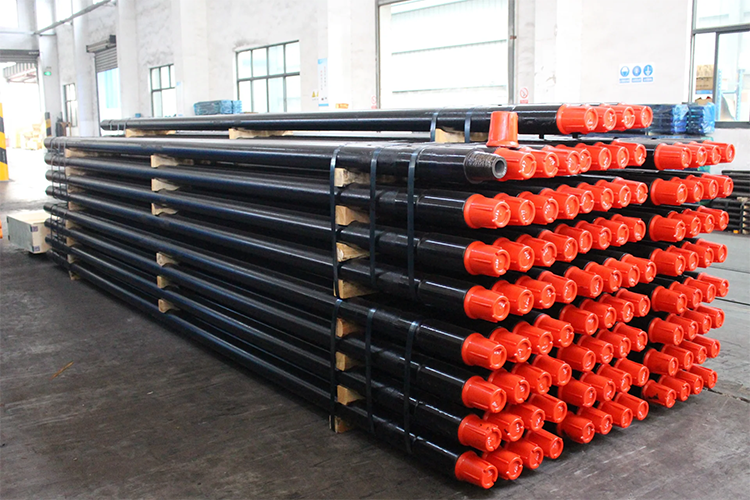
Why a pre-bore inspection matters
Drill rods experience repeated torque, thrust, pullback, bending, vibration, and make-up cycles. A small defect that is easy to see on the rack can become difficult or expensive to manage after the string is in the ground. Inspection also protects good rods: one damaged connection can mark or deform the mating connection on the next rod.
Inspect the complete string in adequate light, with enough space to rotate each rod safely. Keep accepted, questionable, and rejected rods physically separated so that a quarantined rod cannot return to the rack by mistake.
Clean the rod before judging it
Dirt and old thread compound can hide cracks, galling, corrosion, and impact damage. Clean the pin, box, shoulder faces, and the adjacent rod body with methods approved for the connection. Remove debris without grinding away metal or changing the thread profile. Wipe the surfaces dry enough to inspect, but protect cleaned connections from flash rust and contamination.
Good lighting is essential. A portable inspection light and a clean lint-free cloth make it easier to distinguish normal compound staining from torn metal or pitting. If the connection cannot be cleaned well enough to see its condition, do not classify it as serviceable yet.
Inspect pin and box threads
Look around the full circumference of both connections. Watch for flattened or chipped crests, torn metal, galling, cross-threading, cracks, heavy corrosion, and localized impact marks. Pay particular attention to the first engaged threads because careless alignment during make-up often damages this area first.
- Confirm that the thread form is continuous and free of embedded grit or metal chips.
- Check that the pin nose and box entrance are not peened, mushroomed, or visibly distorted.
- Do not try to hide damage with extra thread compound; compound lubricates and seals, but it does not restore missing metal.
- Use the correct gauge or qualified inspection method when wear cannot be judged reliably by sight.
A connection that will not start smoothly by hand or with the normal alignment procedure should be stopped and rechecked. Forcing a mismatched or damaged connection can turn a questionable rod into two damaged rods.
Check shoulder faces and connection fit
The shoulder faces transfer load and help the connection make up consistently. Inspect them for dents, raised burrs, wash marks, uneven contact patterns, cracks, and material displaced by impact. A raised defect may prevent full shoulder contact even when the threads appear usable.
If a test fit is permitted, use a clean, known-compatible mating connection and follow the manufacturer’s procedure. The connection should align correctly and make up without binding. Never mix thread types simply because the diameter looks similar. Profile, pitch, taper, and shoulder geometry must all match.

Examine the rod body
Roll or rotate the rod where it can be done safely and look for a visible bow, kink, dent, gouge, deep abrasion, corrosion, or an abrupt change in diameter. Inspect transition areas near upset ends or welded regions carefully because changes in section can concentrate stress. Also check for fluid leakage marks or washout evidence that could indicate a wall defect.
Visual inspection alone cannot confirm remaining wall thickness or reveal every crack. When service history, corrosion, an impact event, or visible damage creates doubt, move the rod to a qualified dimensional or nondestructive inspection process. Do not improvise acceptance limits in the field; use the manufacturer’s published criteria and competent inspection personnel.
Run, quarantine, or retire
Finish the inspection with a clear disposition. A rod should not remain in an informal “maybe” pile where it can be loaded accidentally.
- Run: clean, compatible, and within the applicable visual and dimensional acceptance criteria.
- Quarantine: uncertain condition, incomplete cleaning, questionable dimensions, or a defect that requires qualified evaluation.
- Retire: confirmed rejection condition under the manufacturer’s criteria, or damage that cannot be corrected by an approved repair process.
Mark quarantined or retired rods in a durable, visible way that does not create a new stress concentration. Record the rod identity when traceability is available, the observed defect, the date, and the decision. These records help reveal repeated handling problems and prevent rejected equipment from circulating between crews.
Make inspection part of the workflow
The best checklist is one the crew can complete consistently. Assign responsibility, provide a clean inspection area, keep basic tools ready, and build the check into loading or staging. Repeat focused checks after a severe bend, unexpected obstruction, connection problem, transport incident, or any event that may have overloaded the string.
Before the first rod enters the bore, the crew should know that every connection is clean and compatible, every shoulder is fit for service, and every rod body has received a deliberate look. That small investment of time supports safer handling, more consistent make-up, and fewer preventable interruptions once drilling begins.
SHARE:
More Posts for You
- Developing a Smarter HDD Drill Rod Procurement Strategy: From Line Item to Performance Spec
- Which one lasts longer, one-piece forged drill rod or friction-welded drill rod?
- HDD Drill Rod Selection for Engineers | Design and Analysis Fundamentals
- Pre-Bore HDD Drill Rod Inspection Checklist: What to Check Before Every Job
- HDD Drill Rod Warranty – What’s Covered and What Voids It
- Smart HDD Drill Rods: Sensors Embedded For Real-Time Monitoring
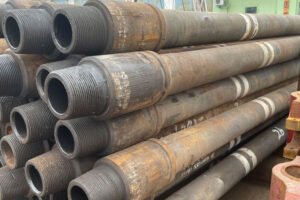
- Ultrasonic Wall Thickness Testing of HDD Drill Rods: Procedure & Limitations
- Choosing the right drill pipe supplier for your Vermeer D16x20